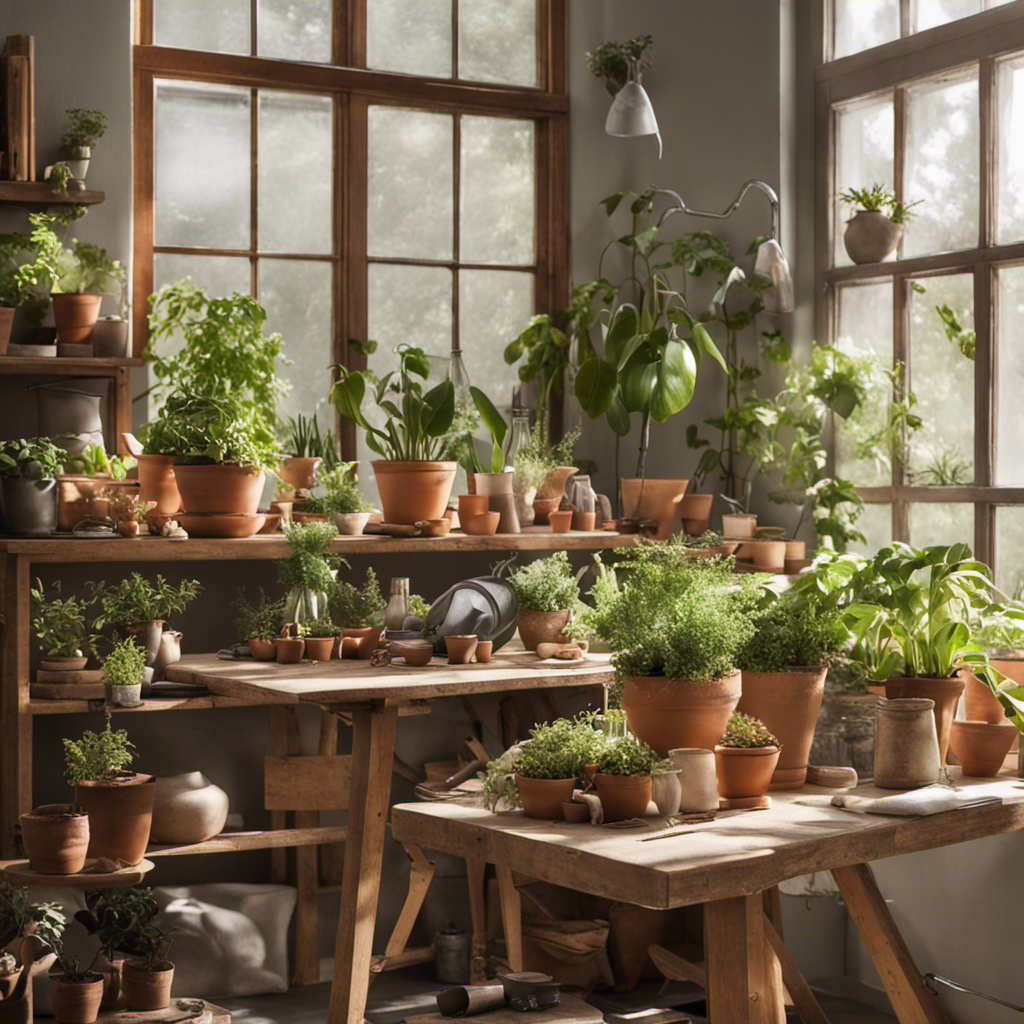
If you are an enthusiast of indoor plants, and want to restore them back to their healthy state, repotting is the perfect way! In this blog post we will show you through all steps in how best care for your houseplants, from recognizing when a new home is needed right up until advice on specific types. So grab those gardening gloves now and let’s begin taking proper care of these beautiful green friends.
Key Takeaways
Recognize signs of when to repot your plant for optimal TLC and growth
Choose an ideal pot with size, material, drainage capacity and water accumulation potential in mind
Follow a step-by-step guide on how to prepare workspace & supplies, remove the plant from its current pot safely, inspect & prune roots before post repotting care
Recognizing the Signs: When to Repot Your Plant
Many houseplants require a fresh potting soil or mix every 1 to 2 years in order to provide enough space for their roots and replenish nutrients. Late winter or early spring is the best time to repot your plant before the start of the growing season, without excess soil and allowing them access to additional resources necessary for healthy growth.
Signs that indicate it’s time for you repot your plants are: yellow leaves, slow progress with vegetation, overgrown roots pushing through drainage holes at bottom of pots as well as a dry soil which may be from too much substrate present. Repoting prematurely can prevent development and cause root rot. Thus finding balance between when plants need more room versus being smothered by an unnecessary larger container is key.
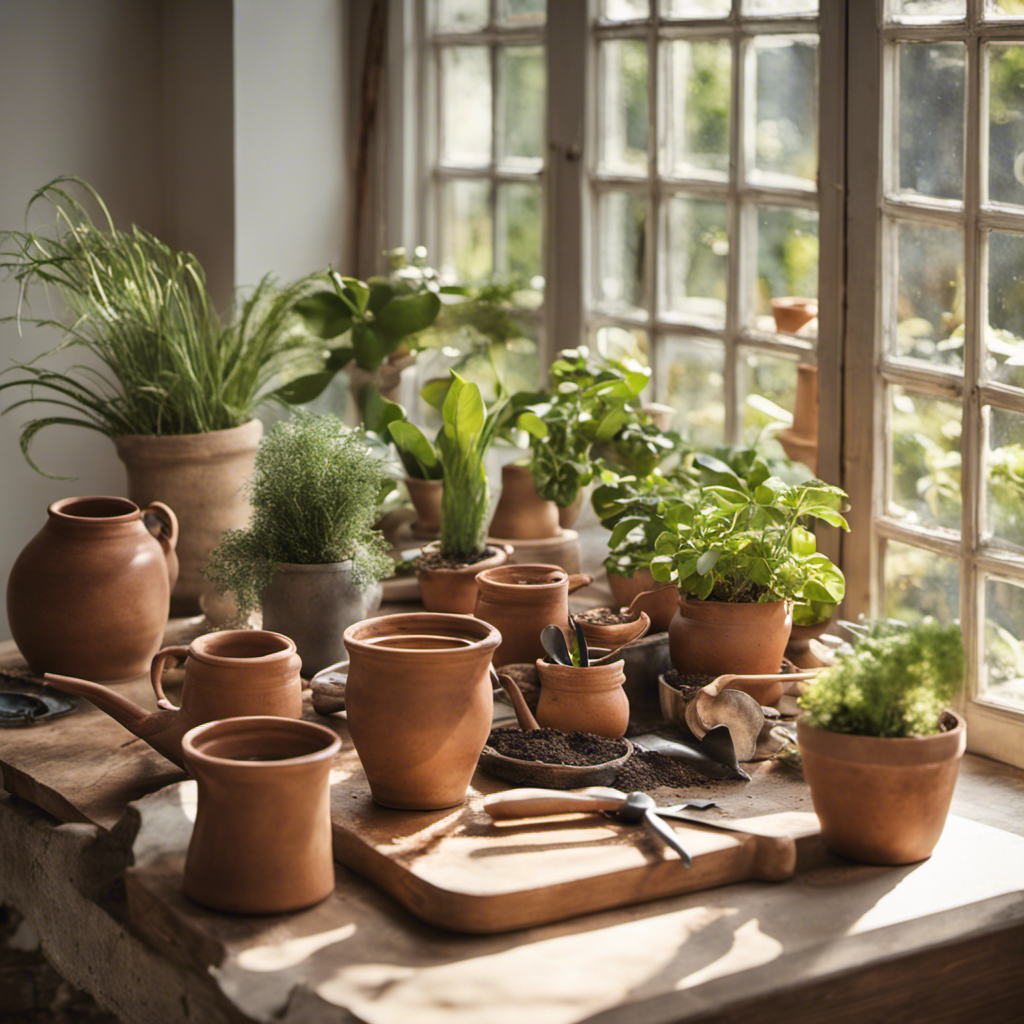
Choosing the Ideal Pot for Your Plant
When selecting the right pot for your plant, size, material and drainage capacity should all be taken into account including having a good drainage hole. The preferred vessel would need to have more room than what is currently being used as this will provide improved draining capabilities for its roots. Terra cotta containers are suggested when talking about indoor potted plants because they allow better airflow due to their porous nature which helps prevent bacterial growth. There must also be enough water runoff at the bottom of said container in order not cause root decay or molding from excessive moisture gathering at the bottom of the pot or base of it.
Prior to repotting any greenery into an altered setting you ought to condition that particular area with new soil so that all conducive environments can grow properly without hesitation while reducing chances of potential issues like damp off or degradation occurring within these areas commonly found throughout such stages
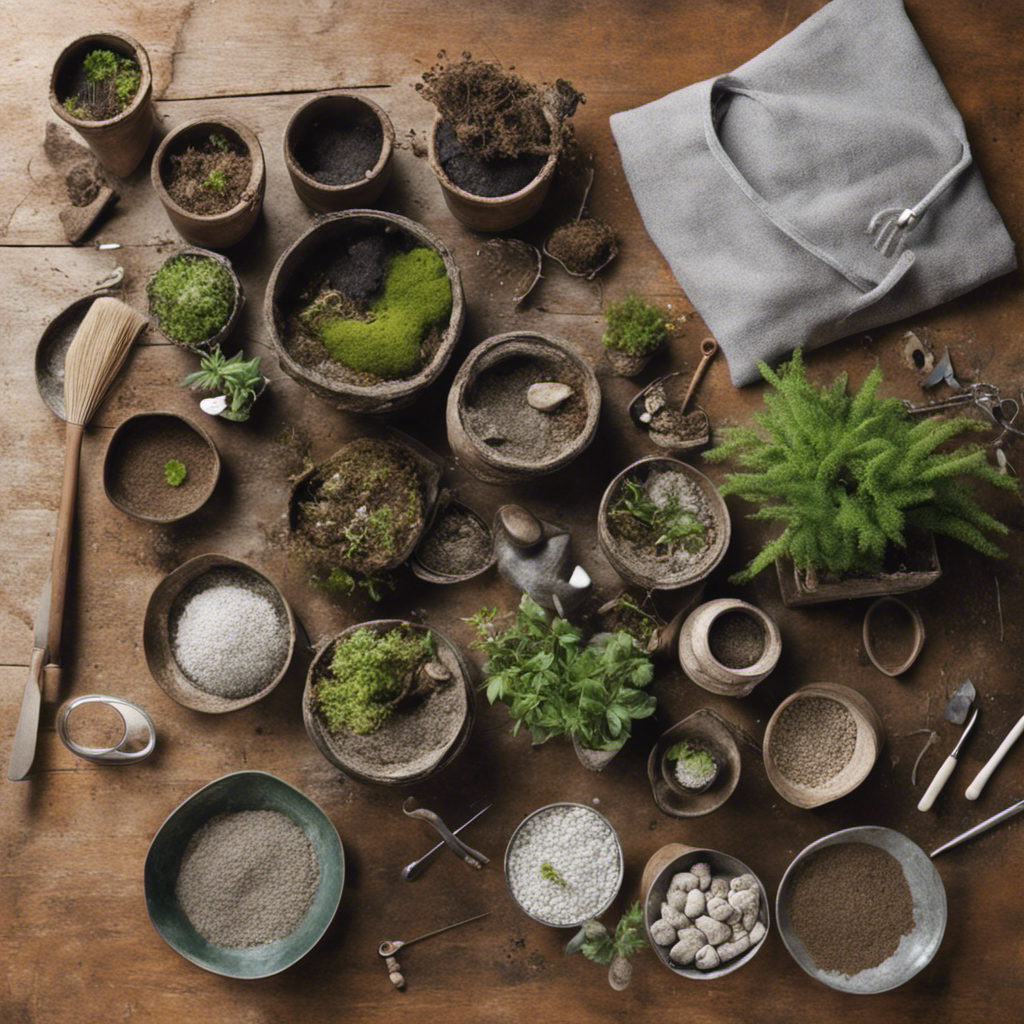
Selecting the Perfect Potting Soil
It is critical for the well-being of a plant to choose an appropriate potting mix. To ensure that the plant's roots develop healthily, fresh soil designed particularly for indoor conditions should be used in ratio 70% coarse peat moss and 30% perlite. Adding worm castings will also improve its welfare with important nutrients such as iron and nitrogen while improving drainage at same time. Garden soil ought not to be utilized due to lack of vital elements needed by houseplants growing inside spaces.
When repotting indoors especially if keeping the same pot container, blending equal parts orchid potting media along with regular one would guarantee proper aeration apart from hindering fungus emergence making sure your greenery thrives within new space it’s placed into .
The Repotting Process: A Step-by-Step Guide
Now that you are familiar with the repotting timeline and have chosen a pot as well as suitable soil, it’s time to start. We will take you through each stage (from setting up your working area all the way to assessing and trimming down the roots) so that everything goes without a hitch for this repotting project.
Preparing Your Workspace and Supplies
Before beginning the repotting process, make sure all necessary tools and materials are on hand. A pot for the plant’s new home along with soil suitable to your particular species of houseplant is paramount. Gardening gloves and pruning shears may be helpful as well during this activity. Check that drainage holes in any given pots are intact – water accumulation or root rot can occur if left neglected!
A terra cotta container makes a great choice when it comes time to transfer plants from one residence to another. You should give them an initial soak beforehand, especially since these clay vessels have a tendency towards absorbing moisture away from potted flora over time! Once drained properly, begin filling up the pot one third of its total height with fresh earthy mix before covering each hole with either paper towels/coffee filters, allowing liquid passage yet keeping mulch inside untouched simultaneously .
Lastly , ensure you provide enough support so your beloved green friend doesn’t tumble down every other day after having completed said task !
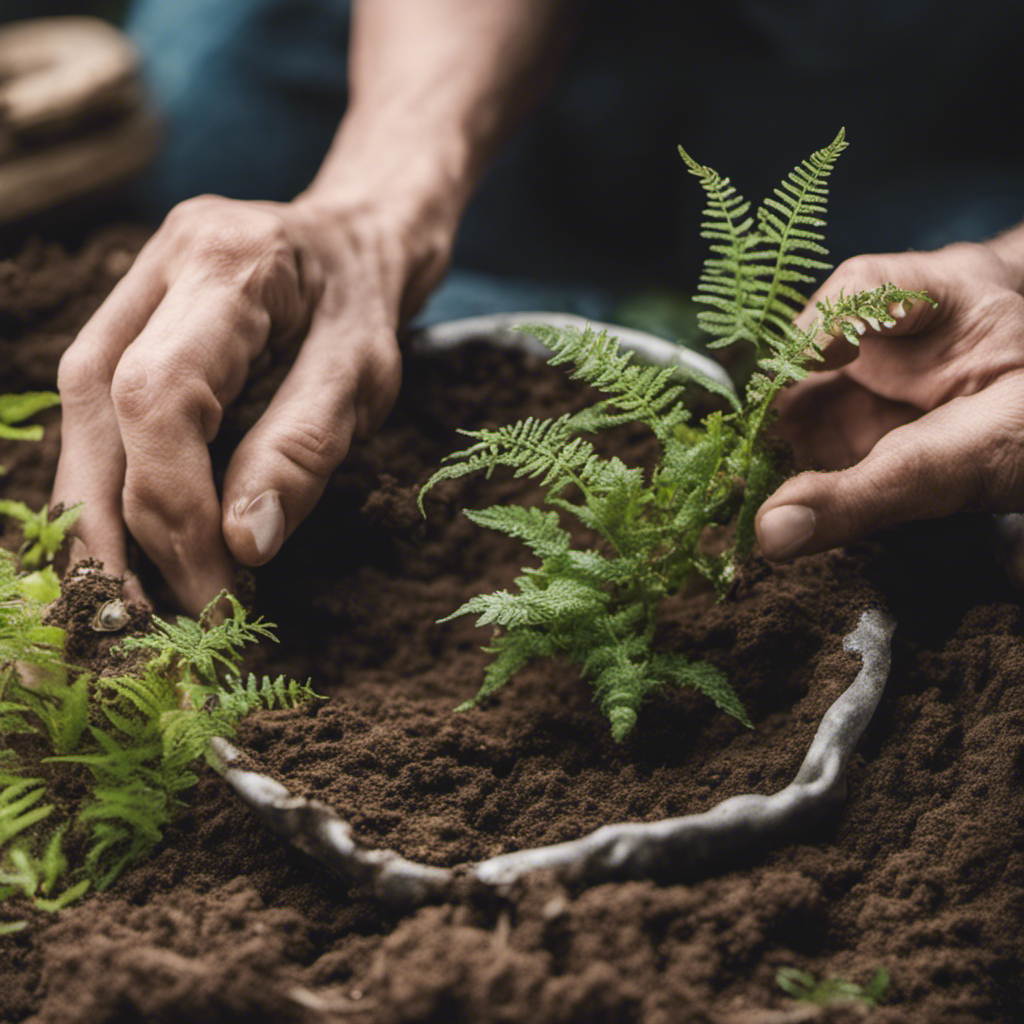
Gently Removing the Plant from Its Current Pot
Prior to repotting your plant, be sure it is sufficiently watered in order for any accumulated salts over time to dissolve. Adequate hydration helps prevent the risk of transplant shock during the process. To gently remove the plant from its current pot without causing damage, follow these steps: 1) Gripping securely at its base, turn upside down and release into hand. 2) Exercise care when handling not just roots but leaves too. 3) If needed use gardening tool or hands if soil around edges needs loosening before gently sliding out plants’s roots form container.
Inspecting and Pruning the Roots
When re-potting your plant, you must inspect and prune the roots. Taking this step is imperative for preserving its health to prevent it from suffering transplant shock. To begin with, carefully part out any entwined roots while being careful not to break them in order not lead up towards root binding which may disrupt their uptake of necessary nutrients. Also cut off lengthy strings that have grown beyond what’s required so as to sustainably maintain the size of your plants long term.
Root trimming helps avoid Cases of root binding after moving a potted plant into another environment - allowing greater absorption capacity for water & nutrition hence preventing yellowing leaves due to lack thereof within regular pot boundaries under normal soil conditions!
Post-Repotting Care: Watering and Environment
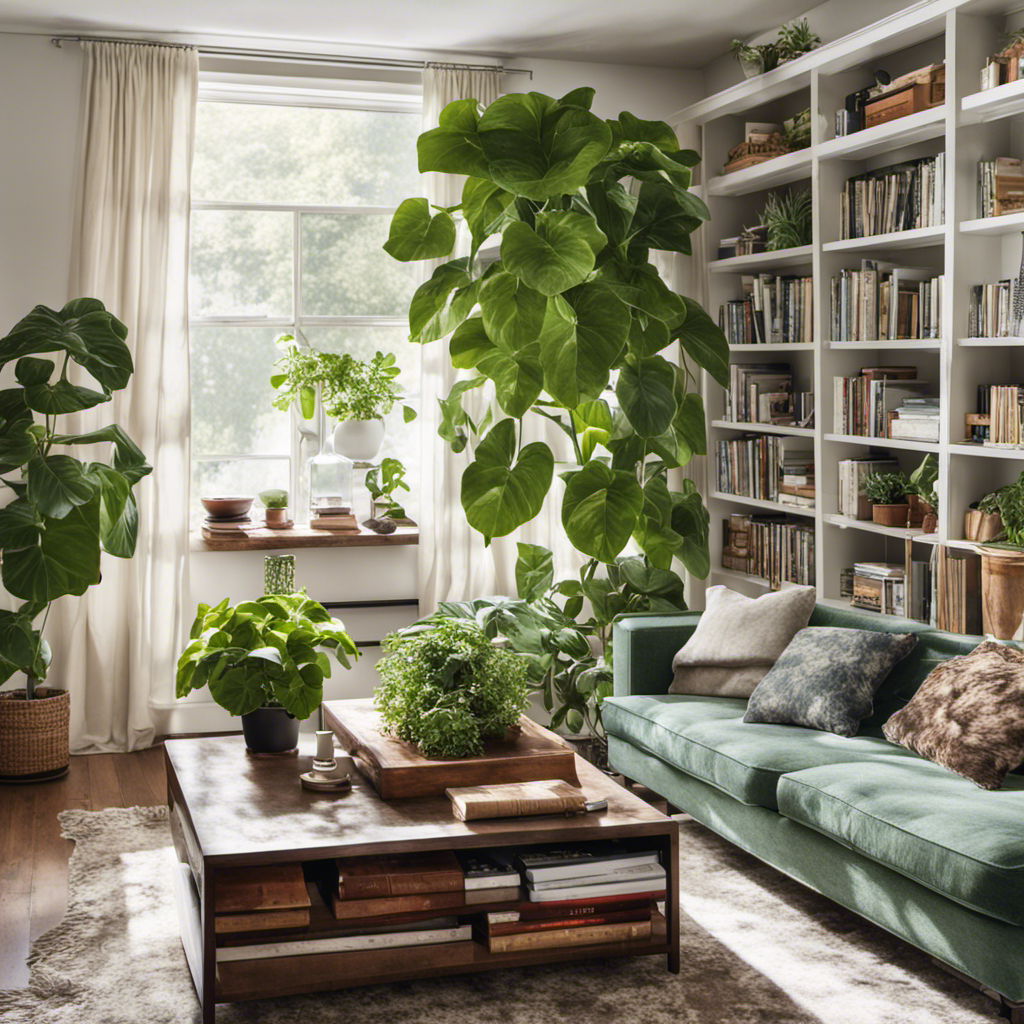
After the repotting procedure has been finalized, adequate care is essential for your plant’s wellbeing. Watering the soil sparingly (especially when it comes to succulents and cacti) will provide enough moisture while also preventing potential transplant shock that may occur in a whole new pot and environment. To ease this process further: keep it out of direct sunlight for one or two weeks. Providing shade so as not to overwhelm its roots which have just adapted to their fresh potting mix residence. This break from full exposure can also help focus energy on establishing itself within the modified home they now occupy in order to get stronger over time
Troubleshooting Common Repotting Issues
In order to ensure the health and vitality of your plant, it is essential to be aware of common issues that may arise during repotting. These include transplant shock, inhibited growth, and root rot. Following these steps can help you avoid any adverse outcomes:
Hydrate your plant before or after potting so they are adequately provided for. This includes finding an appropriate space with shade included in its environment as well.
Ensure proper drainage - use a pot containing multiple holes along the bottom part in order prevent waterlogging from occurring which could lead to potential root rotting due to overwatering within its new home soil-wise container-wise..
3 .These guidelines will assist your chosen plants transition into their freshly potted area successfully thus lessening risks associated with something like transplant shock developing Following overall transferral episode process commenced originally by yourself!
Expert Tips for Repotting Specific Houseplants
For successful houseplant repotting, it is important to be mindful of the particular needs for each plant. The core process may stay the same Special attention must be taken with fragile roots during loosing and trimming in order to prevent damage. To guarantee a healthy growth environment, it would also pay off taking time investigating suited soil mixes as well as climate conditions specific to your chosen type of plant.
Knowledge on such details together with these tips can help you confidently repot plants resulting in extended life and wellbeing all round!
Frequently Asked Questions
How often should houseplants be repotted?
Every 3 to 5 years, houseplants should still need to be repotted for their health and growth. This process can potentially happen less often if mineral soil is used in the potting mixture as it provides additional nutrients over time that eliminate the need of frequent repotting.
What is repotting plants?
Repotting plants means moving them from their plastic nursery pot with holes in, to a larger one. To avoid drowning the plant, it’s not recommended to go straight into a bigger pot without drainage holes unless you’re an experienced expert.
What should you not do when repotting?
When repotting plants, use fresh potting soil and a much larger pot or container. Consider splitting the plant if necessary but do not leave any extra air in the dirt or fertilize after repotting it. For successful results of your potted flowers be sure to provide proper amount of moistening with new potting medium when transferring them into their newly adopted home!
How do you repot plants without killing them?
When deciding to repot plants, the type and size of the new potting mix and soil must be carefully taken into account. Start by gently removing the plant from its existing planter then loosen up any roots that may have grown around it. Add fresh potting mix before putting back in a new container with enough water added for thorough saturation. When finished, let your greens acclimatize so you can marvel at their beauty!
What are some signs that my plant needs repotting?
Slow growth progress of the plant, dry soil and yellow leaves all signify that its roots have outgrown the current pot. Your plant needs to be repotted.
Summary
Finally, repotting is a critical aspect of plant care which provides your beloved houseplants with all the necessary elements – such as space and nutrients, they require in order to stay healthy. If you are able to identify the signs that indicate it’s time for a repot, select an ideal pot and soil type, then follow each step outlined throughout this blog post properly. You can guarantee growth and continuing beauty of your plants over many years.
Take on this rewarding task by being equipped with all information shared here about taking proper care of your precious plants! By providing them exactly what they need from selecting appropriate pots & soils along with following through every stage mentioned in the guide, their health will be restored giving long-lasting results.
Comments
Post a Comment